The weekends seem to just fly by, its already Sunday..
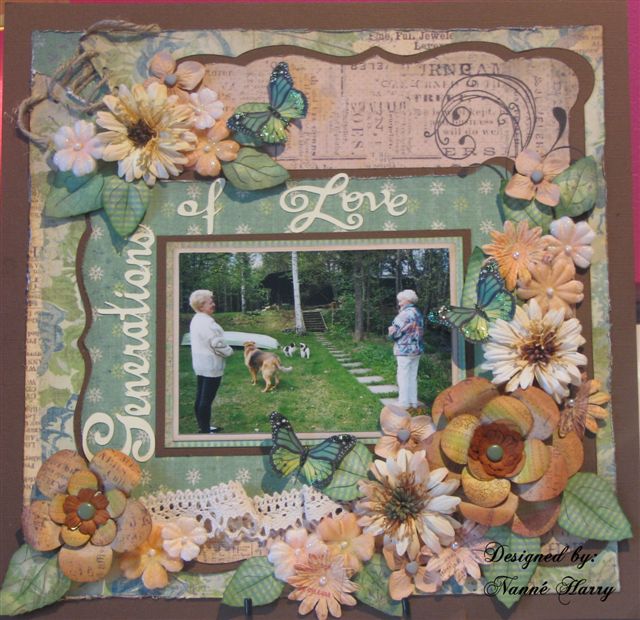
Spent a few hours this morning putting this layout together..
My DD drew this flower and star a few years ago. I guess she had it planned as a tattoo..
I found it by accident going through some old paper tablets as I was getting ready to throw them away..
Good thing I went through it or this master piece might of ended up in the trash..
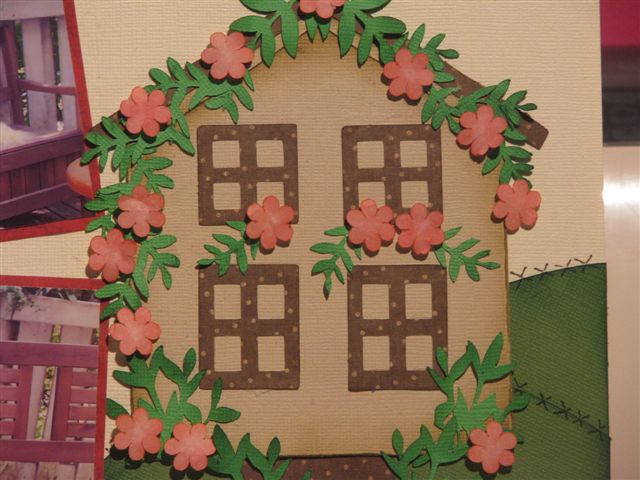
Here are a few close ups:
close ups of the drawing.
I used my cuttlebug to emboss the flowers and the flourish. The embossing
folder that I used is called Victoria..lovin it!! :O)
and of the title.. I love how this layout came out.
For supplies Used:
Cricut cartridges:
George and Basic Shapes: flowers
and centers
Home Accent: leaves and flourish
Sentimentals: large and small marquee
title: "Brilliant"
Plantin Schoolbook: title "artist"
Locker Talk: photo frame
Papers: Basic Grey
"Scarlettes Letter"
cardstock: white and red
Versa ink: dark green
Staz On ink: black
Cuttlebug
Victoria embossing folder: flowers and flourish
pop dots and zig two glue pen
well that again does it for today.
Thank you all so much for looking and have a great Sunday.
Hugs
Nanné