Sad to say, this is the last Friday in September.. can't believe how fast time flies.<-- I tend to say that a lot now a days.. I must be getting older..LOL so, anyway... Us girls over at SOUS are having our sketch challenge reveal today and our Sandi picked out a beautiful sketch for us to work with.. This weeks sketch is by a very talented lady name Liz Qualman. I absolutely loved working with it...
and Its great to be back home even though we enjoyed out vacation in the States.. and I'm sure you all have figured out by now, that I went on a scrapbook supply buying frenzy while in the States for two and a half weeks..LOL
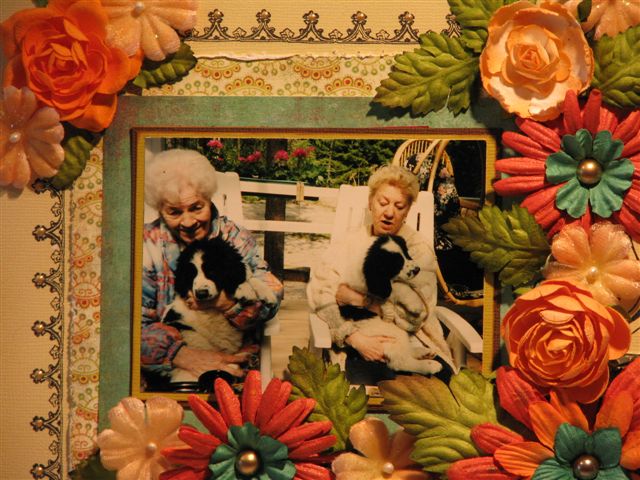
So, without further a do, here is my take on out sketch:

I'm so sorry for the quality of the photo, but living in Finland this time of year means no sunshine for the next 6 months..for real!! Its a nice cloudy depressing day today..Yuck!!
I also dont' have photos on this layout cause the hard drive on my computer burnt up and I'm trying to get my hubby to salvage as much stuff off of their as humanly possible.. He has been successful with a few programs that I can't live without, one being the Design Studio files and saved projects! Whew!!.. I have total faith in him!! :)
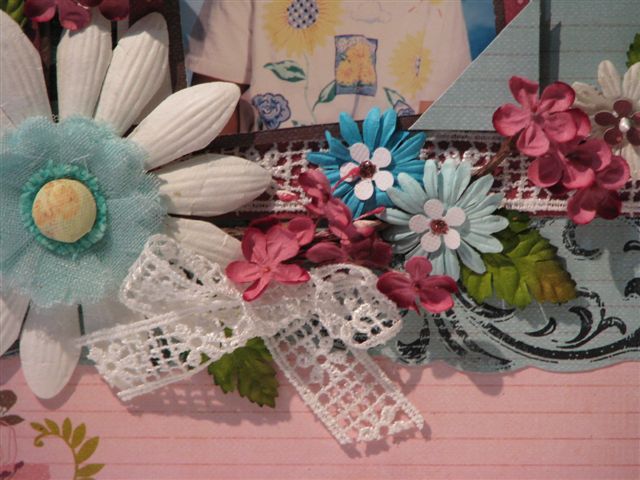
and for a few close ups of the layout:


and for the supplies used:
papers by: My Minds Eye: "Where the Heart Is" stack
cardstock: White, cream, green, orange and brown
Cricut Expression
Stretch Your Imagination cartridge: Leaves
Graphically Speaking: Sun flowers and Centers
George and Basic Shapes. Oval
Cuttlebug
Tim Holtz Alterations dies: Autumn Gatherings
Distress Inks: Vintage Photo, Rusty Hinge, Peeled Paint and
Fired Brick
Phrase stickers by: The Paper Studio
Pop dots and glue dots
Butterfly punch by: Martha Stewart
Stickles: Diamond
So, ladies!!! I hope you find time to stop by SOUS this weekend and check out what the rest of our very talented design team have created using the same sketch.. I was blown away, when I seen all of the various projects.. they are just amazing!!!
Thank you all so much for stopping by today and I hope everyone has a wonderfully creative weekend..
hugs
hugs